Raspberry Pi with BerryBoot and OpenELEC

I recently noticed that BerryBoot with OpenELEC makes really good combination on your Raspberry Pi and it is also really easy to setup.

Some time ago I purchased couple of RaspberryPi:s. I was waiting once they were comfortably running XBMC in 1080p resolution. I have had them on use with OpenELEC and RaspMC and recently liked OpenELEC a lot. I had to renew and do one installation from scratch.

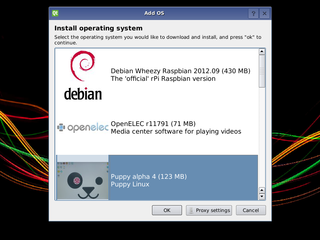
berryboot-install-distro_thumb

First downloaded BerryBoot. Installation with that goes smoothly, just formatted 8GB SD card to fat and extracted the zip to sd-card. Then plugged in keyboard, mouse, rj45 network cable, hdmi to monitor + Nokia usb charger to feed power. Selected OpenELEC and then some configuring. I added following to config.txt

gpu_mem=128
cma_lwm=16
cma_hwm=32
cma_offline_start=16

gpu_mem_512=256
arm_freq=850
core_freq=400
sdram_freq=400
gpu_freq=300

# Berryboot settings, do not change
kernel=kernel_rpi_aufs.img
initramfs berryboot.img

Once OpenELEC booted up, selected OpenELEC OS Settings and changed Keyboard layout to fi and Hostname to bit better and under Services – SSH – Start ssh server at boot. Then rebooted and after that you can log in as root with password: openelec.

Nowdays nano is bundled with OpenELEC so that you have there default.

Now logging in with ssh you can verify the speed change with cat /sys/devices/system/cpu/cpu0/cpufreq/scaling_cur_freq It should show 850MHz.

More detailed you can get with following command

for src in arm core h264 isp v3d uart pwm emmc pixel vec hdmi dpi ; do echo -e "$src:t$(vcgencmd measure_clock $src)" ; done
arm:    frequency(45)=850000000
core:   frequency(1)=399999000
h264:   frequency(28)=240000000
isp:    frequency(42)=240000000
v3d:    frequency(43)=0
uart:   frequency(22)=3000000
pwm:    frequency(25)=0
emmc:   frequency(47)=100000000
pixel:  frequency(29)=154000000
vec:    frequency(10)=0
hdmi:   frequency(9)=163683000
dpi:    frequency(4)=0

With vcgencmd measure_volts;vcgencmd measure_temp command you can determine the current voltage and chip temperature.

If you wanna really push more, you can try settings in config.txt like:

arm_freq=1050
core_freq=500
sdram_freq=500
over_voltage=6

but try safely one thing at a time. And remember, if you loose your filesystem undetectable, that almost always is because of overclocking or bad power supply. You can find more info from elinux.org RPI Config Overclocking options.

So basicly playing around with BerryBoot and OpenELEC is really easy. The only troublesome things are doing upgrades, as at least for now I haven’t been able to configure BerryBoot to do auto or even manual updates. Hope to get back on that later how to solve it.

Activating your JPW Mini Monitors with VMA2016

A story of activating JPW Mini Monitors with VMA2016 amplifier

A while a go my youngest one accidentaly hit his door room so hard that one of the 7 JPW Mini Monitors of the livingroom home theatre fell down and broke.Plastic tweeter supports broke down and the outer case took some hit also. Tweeter of Mini Monitor was hanging inside the case on the wires. So now I had spare time so together with my daughter we opened the box and took away speaker connectors, tweeter and bass element, also one L coil, C capasitor and R resistor + some acustic foam.We glued back together the tweeter support, although I broke it down 3 more times as the plastic was so hard and fragile.

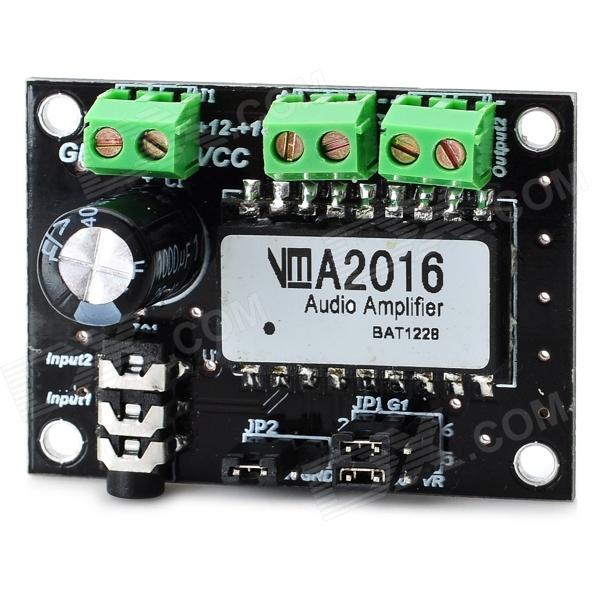
Previously I had already bought for this project an D-Class amplifier VMA2016 from dx. The specs of VMA2016 are quite good. This was recommended for me by more experienced friend (tnx Petri) to be good to look out. It turned out to be fabulous.

sku_44123_1

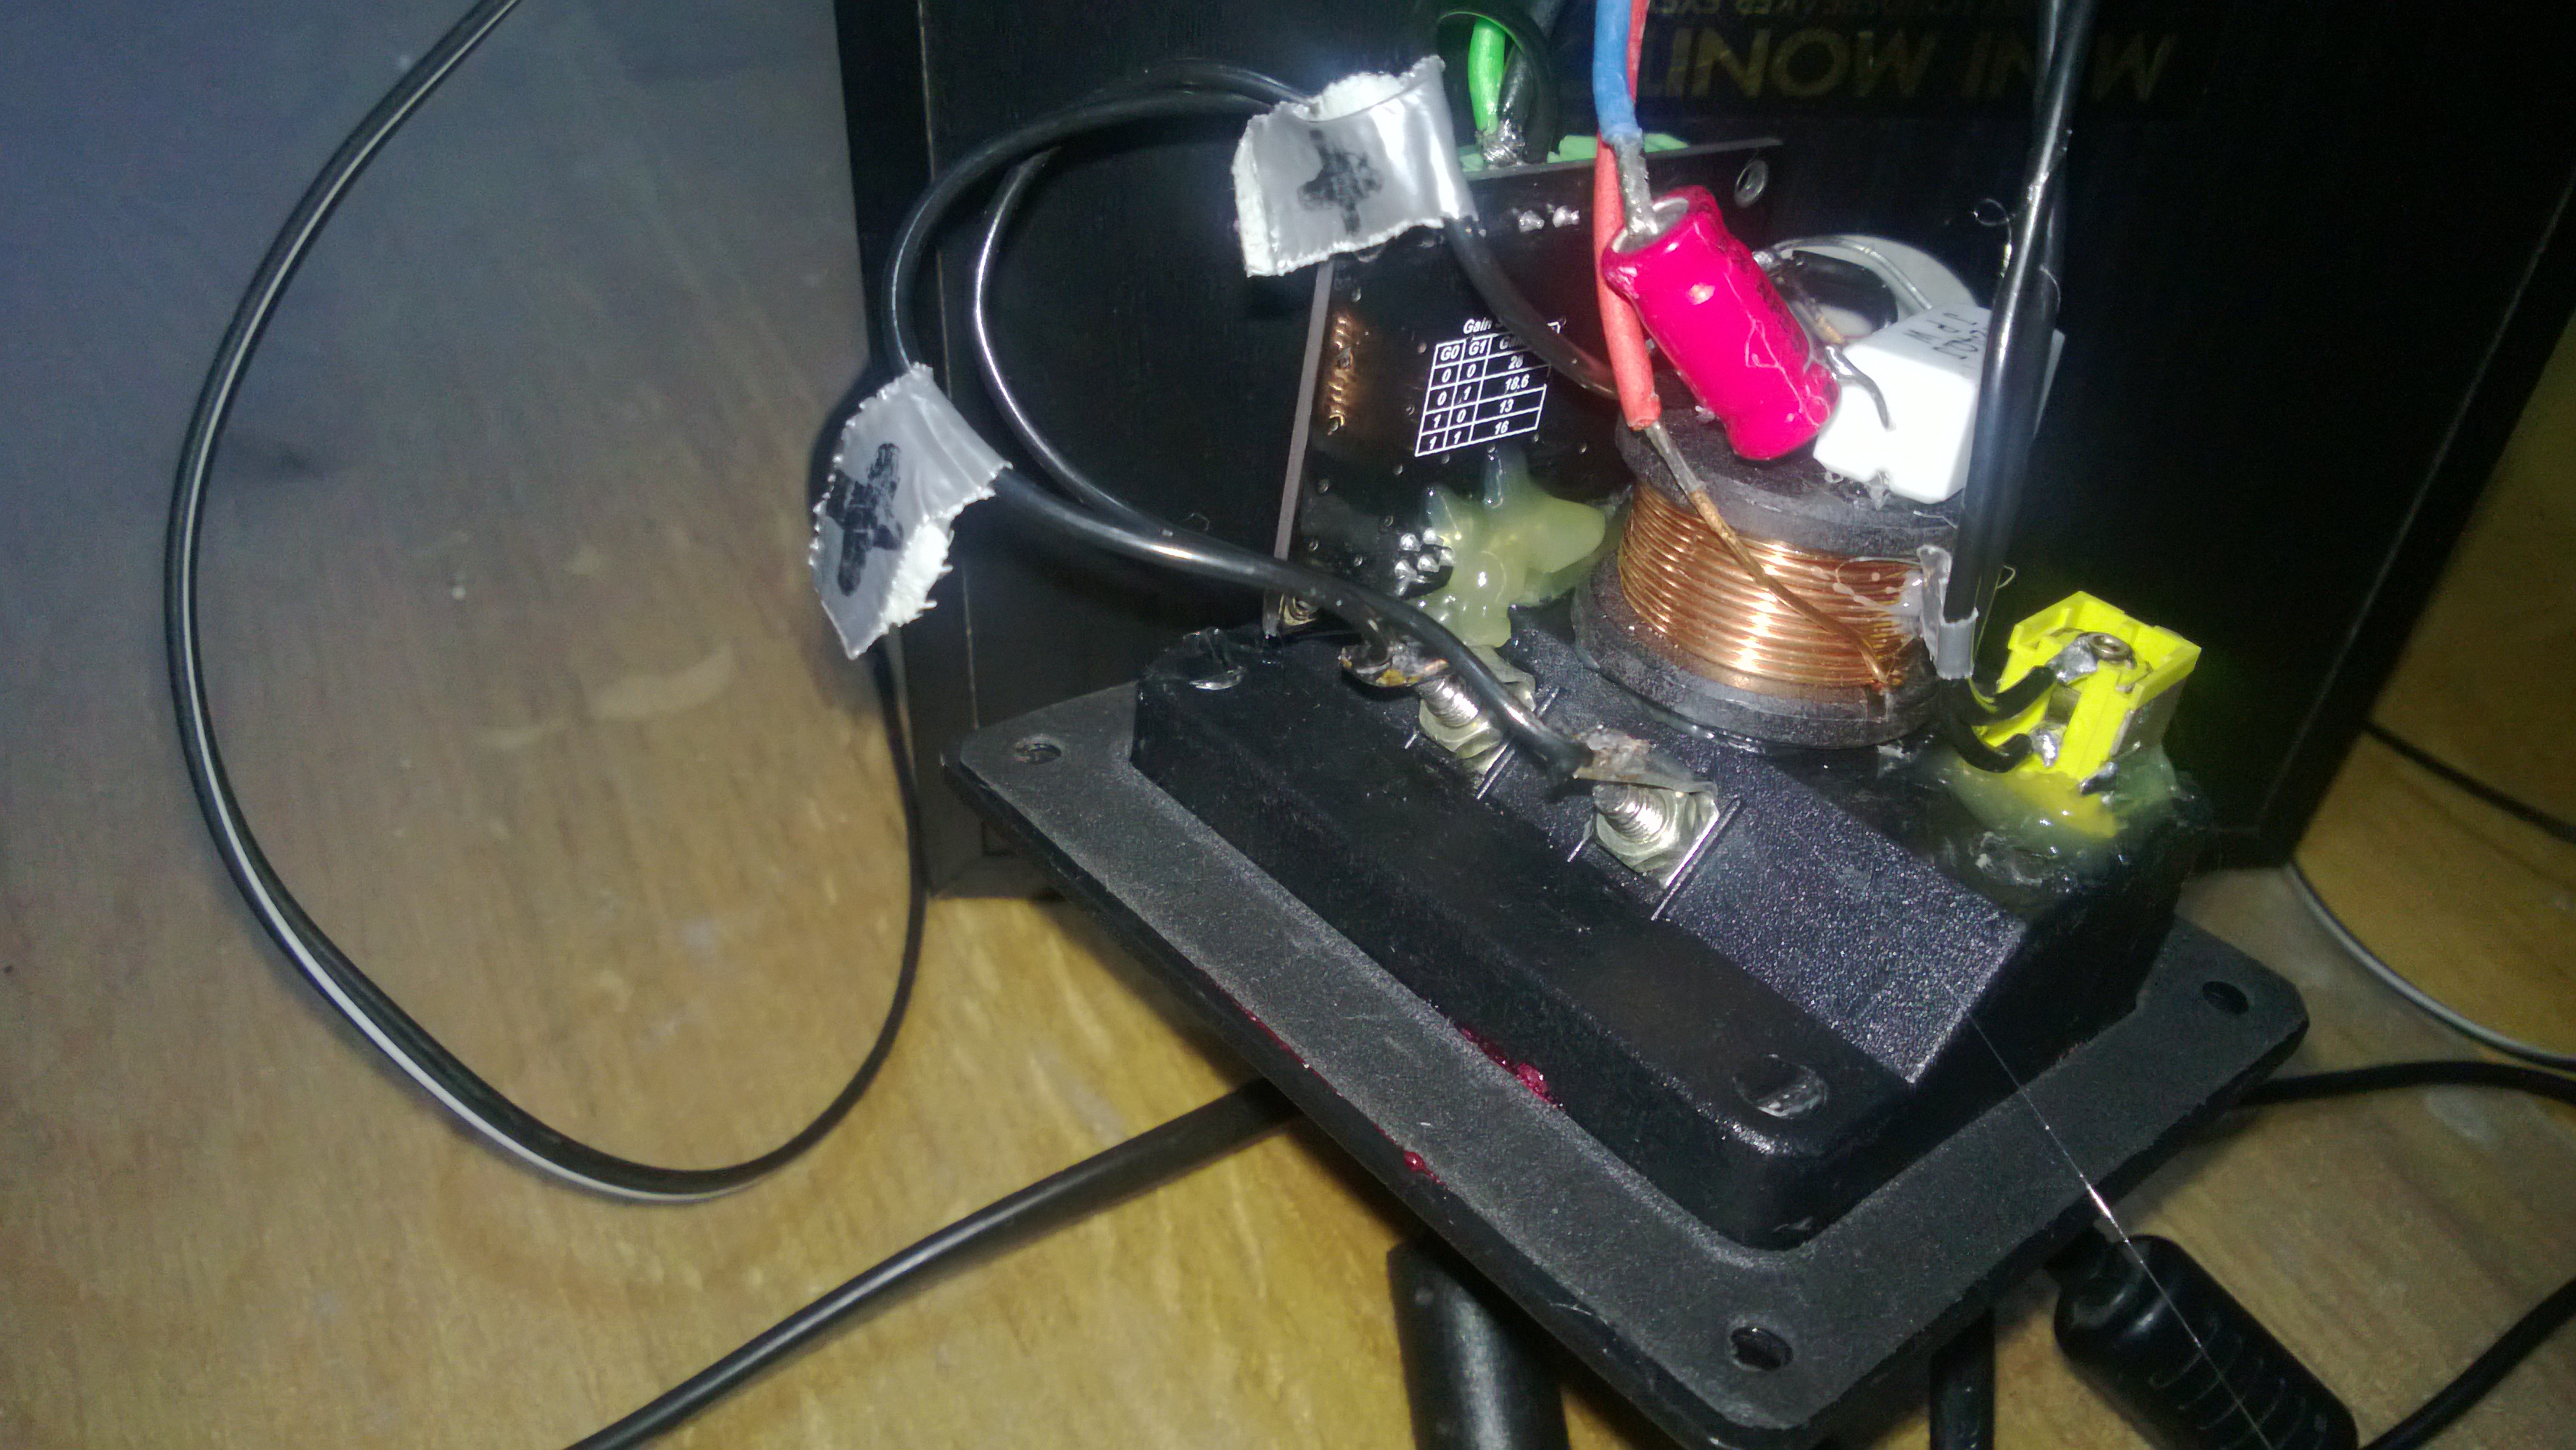
First I marked out the cables and once I had soldered out the tweeter and bass element I had to also soder out the speaker connectors, because I was going to use them for feeding out the passive channel. I connected the speaker to right channel and then with small cables (only had black one at my hands) I soldered the speaker connectors to them and connected to left channel.

Connections inside Active JPW Mini Monitor

Then from the start I aldready had an Idea of building up everything inside the speaker except the power source. So I also soldered and old IBM thinkpad 16V connector to feed the power in.

I did the design so that everything is connected to that plastic plate on the back of speaker, because If I ever broke down the amplifier or the speakers, It will be way easier to repair and change. I drilled 2 abt. 6mm holes for the 3.5mm stereoplug and for the power connector. I had to drill that big for the line in also as I noticed that otherwise it might be so that I can’t push the 3.5mm plug long enough to have proper stereo connection on it.

Then I used hotglue pistol for attaching the circuit board + the power connector. I tried to seal them as good as possible, but the line in terminal you actually cant seal air tight because of the structure and the mechanical work of the connector.

Then with minor testing before assembling JPW Mini Monitors back everything sounded fine. Then I put some stickers to warn not to connect the active speaker to amplifier as the only things how you notice that is the extra power + line in connectors + the stickers. You can feed wide range of power, I have heard that 8.5V works, but it can take as much as 24V also in. I have an plan to use this also on picnics, just by attaching some 18650 LiPO batteries (3 to 5 cells) with welcro on back of the speaker.

WP_20130416_001[1]

My new Active JPW Mini Monitor speakers work really well and all you need is the 16V Thinkpad powersupply or equivalent with that small yellow connector, 3.5mm to 3.5mm cable for audio in. If you want stereo, you need regular speaker cables + passive JPW Mini monitor speaker to connect the passive one to active one.

For the “carry around” option I will do some additions later on to have it easier to carry around.

Then some quick sound and video samples in youtube, the sound is distorting because of the phone microphone but they sound actually way better on live. Really happy on the outcome how my new Active JPW Mini Monitor came out. 🙂

Technical specs should be something like:

Speakers: JPW Mini Monitor

Impedance: 6 Ohms
Power Handling: 70 Wats
Sensitivity 1m/1w: 87dB

Amplifier: VMA2016

THD+N: 0.07% (4W*2, 8 Ohm load)
SNR: >90dB
Quiescent Current: 24mA
Gain is set to: 30dB
Max power: ~10W x 2