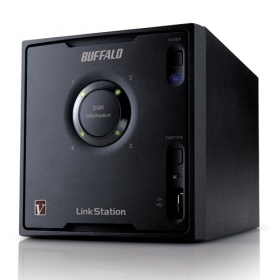
Buffalo Linkstation Pro Quad LS-QVL is remarkable little machine. I have purchased several of these devices and can safely recommend them to everyone. You don’t need to necessarily root them and you can use them as they are, but if you want to take most out of these boxes, then you’ll better do it proper way. This is the complete walk through for that, procedures on setting up Buffalo Linkstation.
Basic procedures on setting up Buffalo Linkstation
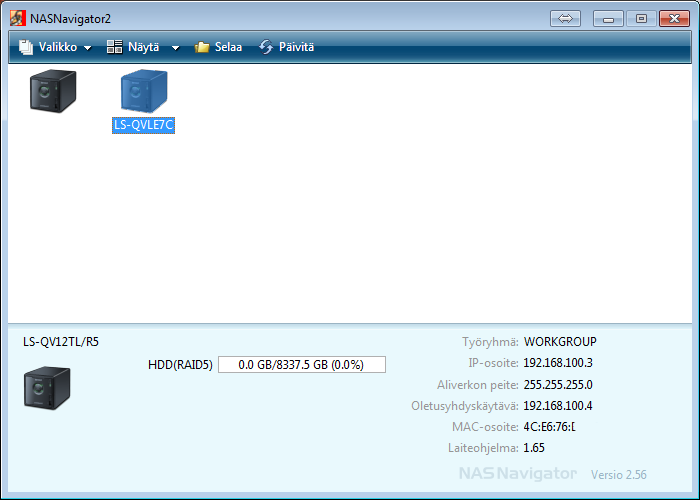
First of course follow the basic procedures, unpack, inspect, then plug it in mains and network as described in the Quick Setup Guide. Press the power button of the machine so that the blue led will start blinking and it will go through the disks (Green lights). Then from the disk provided, install NASNavigator2 (I had 2.56 version).
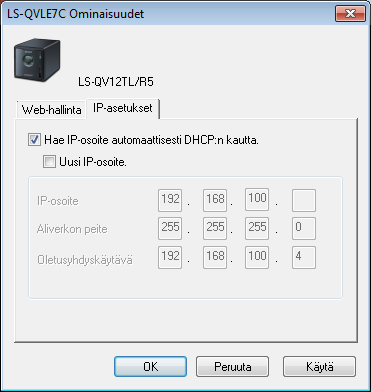
It should find your device and show it in the navigator e.g. LS-QVLE7C. It will pick up the IP from your DHCP server automatically, for me it gave 192.168.100.65. FW Version it showed 1.65. Then I first changed my ip for static 192.168.100.3 ip from properties and ip-settings in NASNavigator2. The default password is password. For me the Finnish version of NASNavigator2 shows like this.
After that you can invoke the web interface with admin and password. You can go go around the webui and look the settings, but I mainly went straight to
System – Maintenance – Firmware Installation page. It shows that you have the latest already, but then open up this page from Buffalo NAS-Central Forums to install Shonks pre modified version of the firmware.
http://forum.buffalo.nas-central.org/viewtopic.php?f=68&t=23603
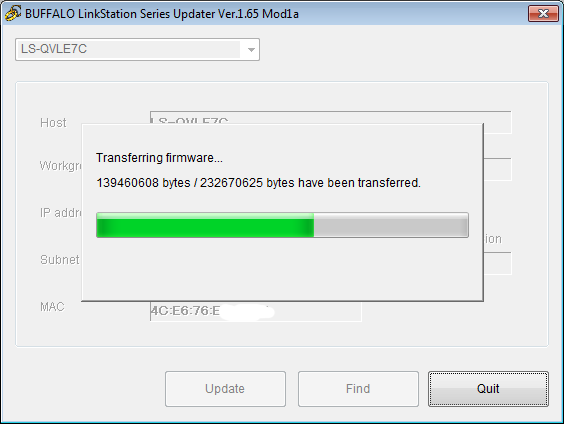
From there it points you to http://pc.cd/Sx7 pick up the proper firmware. You should be getting ls_series-165-mod1a.rar file which is about 230MB.
Flashing custom firmware to your LS-QVL
Then extract the package to your pc and start LSUpdater.exe. Pick the correct linkstation (if you have many) and click update. Mine was updating from 1.65-3.40 to 1.65-3.41.
Then it will inform that Linkstation has been rebooted. Please wait… And finally LinkStation has been updated. After that, log in to web console and System – Restore/Erase – Restore Factory defaults – Restore LinkStation.
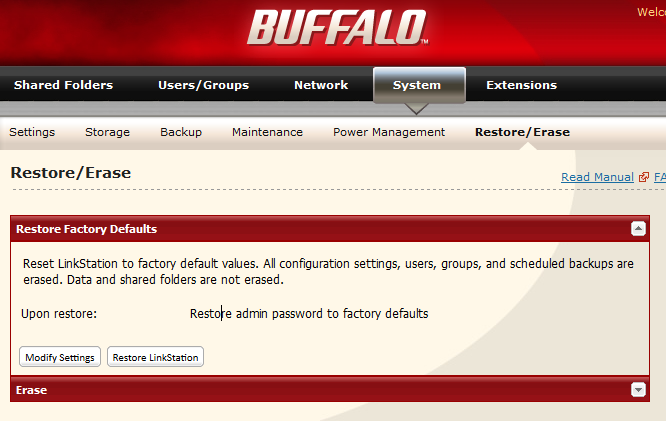 This procedure will remove your root password from the device.
In the process of doing this, you might end up back again on DHCP IP:s so then again do the NASNavigator2 IP Change procedure to change the ip back to what you want.
Then just telnet to your device (ssh won’t work) and log in as root with no password. Then use passwd to change proper secure root password.
Now you should be able to do things in the box (named Nas now)
root@Nas:~# passwd
Enter new UNIX password:
Retype new UNIX password:passwd:
password updated successfully
root@Nas:~# df
Filesystem           1k-blocks      Used Available Use% Mounted on
/dev/md1               4920624    870908   3799760  19% /
udev                     10240       184     10056   2% /dev
/dev/ram1                15360       172     15188   1% /mnt/ram
/dev/md0                992440     30320    962120   3% /boot
/dev/md2             8742533120     34388 8742498732   0% /mnt/array1
So there you go, you have succesfully rooted your NAS.
This is now the basic setup and your device is rooted. You can also apply these same procedures for upgrading the custom firmware to newer. I will go more detailed on the customization in later posts.

