Deleting partitions from SD card with Windows

If you play around with SD cards, eg. with Berryboot or similar for RaspberryPi, you might end up having many partitions in a SD card. If you need to use them in some other way, you might find it difficult to get rid of the partitons. You might be able to delete everything, but might also notice that some partions are hard to delete or remove.

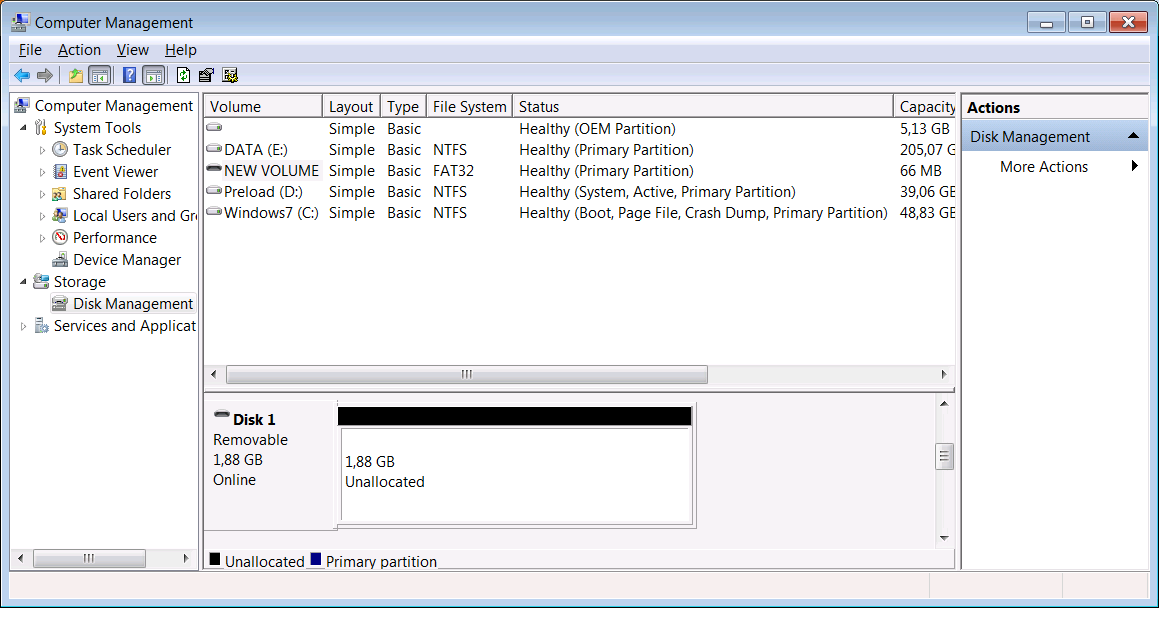
Disk_Management

You might end up showing like this but you can’t Delete Volume. There is an easy way to get rid of that though with the standard windows tools.

Invoke cmd prompt
# Run diskpart with admin rights
diskpart
# type list disk to show the disk what you have (your sd must be detected and inserted)
DISKPART> list disk

Disk ### Status Size Free Dyn Gpt
——– ————- ——- ——- — —
Disk 0 Online 298 GB 0 B
Disk 1 Online 1920 MB 0 B

# you might see something different, but select the correct SD card disk as mine is Disk 1
DISKPART> select disk 1

Disk 1 is now the selected disk.

# then list partitions that you have, they might be more or different size, mine was this small berryboot partition
DISKPART> list partition

Partition ### Type Size Offset
————- —————- ——- ——-
Partition 1 Primary 70 MB 2048 KB

# then select the correct partition
DISKPART> select partition 1

Partition 1 is now the selected partition.

# and after that delete it
DISKPART> delete partition

DiskPart successfully deleted the selected partition.

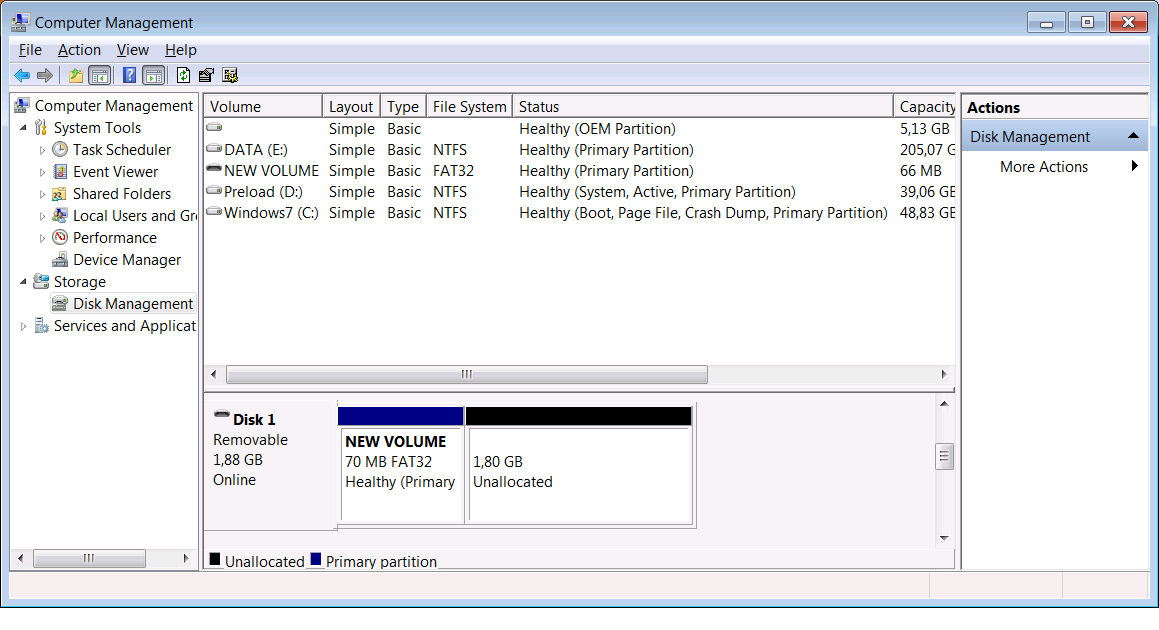
# now you can exit from diskpart and see that the partition is deleted
DISKPART>exit

Disk_Management_2

That was the easyest way I could quickly figure how to get rid of those partitions, hopefully this helps someone.

 

Screen usage on linux and unix systems

Working on linux and unix systems you every now and then need to leave something running overnight or so. Screen is the tool for this.

Basic usage of screen is easy but there is though few tricks you might need after initial start.

If you use screen after you have done eg. sudo su – commonappsuser you might end up nasty Cannot open your terminal ‘/dev/pts/nn’ – please check type of errors. What you would do here is to run script /dev/null and after that you can use eg. screen -rD to detach that previous session.

If you got after screen -rD There are several suitable screens on: message, you can use just that Deteached string after the -rD to connect to right session.

While you are in screen you might need following basic ctrl key combinations to go around.

C-a C-c     (screen)      Create a new window with a shell and switch to that window.
C-a C-a     (other)       Toggle to the window displayed previously.
C-a C-n     (next)        Switch to the next window.
C-a C-p     (prev)        Switch to the previous window (opposite of C-a n).
C-a "       (windowlist -b) Present a list of all windows for selection.
C-a A       (title)       Allow the user to enter a name for the current window.
C-a C-d     (detach)      Detach screen from this terminal. (exit)
C-a S       (split)       Split the current region into two new ones.
C-a tab     (focus)       Switch the input focus to the next region.

There are a lot more commands, just read those + basic stuff from man screen.

Recovering lost Windows Passwords

Sometimes you loose your passwords on windows machines or happend to use old machines so rarely that you really can’t remember your passwords. This happened for my ALC-8500-2 Battery Charging IBM Thinkpad 600E laptop recently.

There is really nice tools for solving this quickly. I did mine like this. Fetch the Ophcrack tools from their site. I have cd-rom on that thinkpad so I used one of my old Vista 2.1.0 version of the disk I already had. You can fetch the latest live cd eg. XP 3.4 from here. Then I booted that live cd to text only and it started doing it’s stuff. I let the computer there for a while but It didn’t manage to broke the passwords I needed only some weak ones. Then I copied ophcrack.txt file via fat32 drive to usb-stick and to my main computer with some Intel Core i7 power. Then fetched ophcrack for win and installed that. Microsoft Security Essentials will alarm on suspicious program but you can leave that untouched as its trusted software. Then I also had to pull xp free small tables file.

Then just extract that package and configure Tables – XP free small and install. And then feeded from usb-stick that ophcrack.txt and after pressing Crack and some 3mins later I had the long lost passwords. If you are in a hurry, you can just choose the one line from that file what you really need.


WordPress for Windows phone app

Found out this nice WordPress for Windows phone app.

Installed it, but always got that Did you wrote your url correctly error and I couldn’t get it working. Tried to write it correctly many times, different ways but no go. Then from that page verified that yes, it works (no it didn’t although it looked first) apiLink is ok, can see the web page, though IE showed http://www.lehtosaari.fi/xmlrpc.php?rsd correctly but Firefox gave after first line this XML Parsing Error: XML or text declaration not at start of entity. Couldn’t at this point figure it out. Then did some surfing on the error codes and Finally found out that Blank line before XML declaration (WordPress) is actually causing this. If you look the source code of the WordPress page, you can see from there if there is blank line and correct it. Then Realized that yes, I changed the theme to something else (SLS)  first and immediately after changing that back to Twenty Twelve this got corrected. This should help everyone that is having this problem on your own wordpress and Windows Phone WordPress app.

Changing car battery for Skoda Superb

Batteries have been in the cars for long. This doesn’t seem that interesting subject, as previously you just removed the cables, and changed it. But not anymore.

In new cars, eg. some VAG brands like Audi, you will have to recode the car to detect new battery correctly Audi A8 (4E) Battery Replacement. Also if there is some faults on car, it might be that the car doesn’t start at all after removing battery without some recoding.

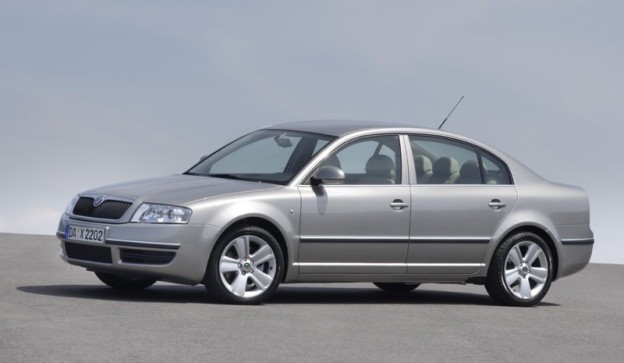
I had in my Skoda Superb 2010 around 2-3y old battery (part of VAG company). With heavy use with Webasto heater it was quite bad shape and didn’t start anymore in -20C. I have VCDS+cable but choosed the safer and faster way (kind of). I don’t have that 61 battery regulation module + I looked from few places in the net + asked that this should be safe.

So unscrewed one 12mm bolt holding the old battery, coupled with cheap Motonet battery cables spare 60AH battery to paraller to old battery, or actually the cabels to car from the battery. Then removing 10mm bolts from – and + and then removed the old and installed new 80Ah 720A battery.

Everything went smoothly in 10-15mins and didn’t have to set windows or clock or anything. I will later on update some more VCDS related tunings I have done + are going to do for the same car.

Some other related links:

Battery Change in A6/4F Audi (fully Finnish)


Installing WordPress + Gallery3

This is an quick start for the blog. Don’t mind on if the text + output isn’t that fluent and there are other flaws, as this is really quick and dirty start.

Although the plan is to have it still useful for someone trying to do similar, so as this was done mid Jan 2013, I think at least for few months it should be fairly similar for anyone else trying to do similar.

So how it starts. First of I used my service providers (Kapsi ry) MySQL. They provided me the DB, so just ordered from them that need it for WordPress + Gallery use (mainly) and they provided me:

MySQL-servername: xyz.kapsi.fi
MySQL-dbname:     mydbname
MySQL-account:    mydbaccount
MySQL-pwd:        mydbpassword

My service provider provides me disk space  email, DNS, web, ssh shell + some other services in linux server. I think this should be quite common for many.

So from the DB side you don’t need more. I was assured that there is enough space and I got also PHPMyAdmin tool to admin if I need to. For this (in finnish) you can surf the details from http://www.kapsi.fi/palvelut/tietokannat.html

Ok so then just surfed a bit throug wordpress.org and gallery.menalto.com pages, and then hitted the shell.

Used following to pull the package and then just untarred that .

wget http://wordpress.org/latest.tar.gz

Then I just followed the bellow instructions on configuring putting here the previous db infos.

http://codex.wordpress.org/Installing_WordPress#Famous_5-Minute_Install

nano -w wp-config.php

I moved the files as mentioned in the instructions and put all on the sites www.lehtosaari.fi main dir just removing previous index.php I created some time ago.

Created couple of accounts and pulled some packages.


Then for the gallery3, pulled this

wget http://downloads.sourceforge.net/project/gallery/gallery3/3.0.4/gallery-3.0.4.zip

From Gallery pages under support – gallery3 faq pointing to this

http://codex.gallery2.org/Gallery3:Quick_StartF

unpacked and moved as its own dir gallery3 under my web root.

Then with web config and it was done. Some minor but quite obvious things in gui but really simple.

Will try to update some more related stuff on this later.